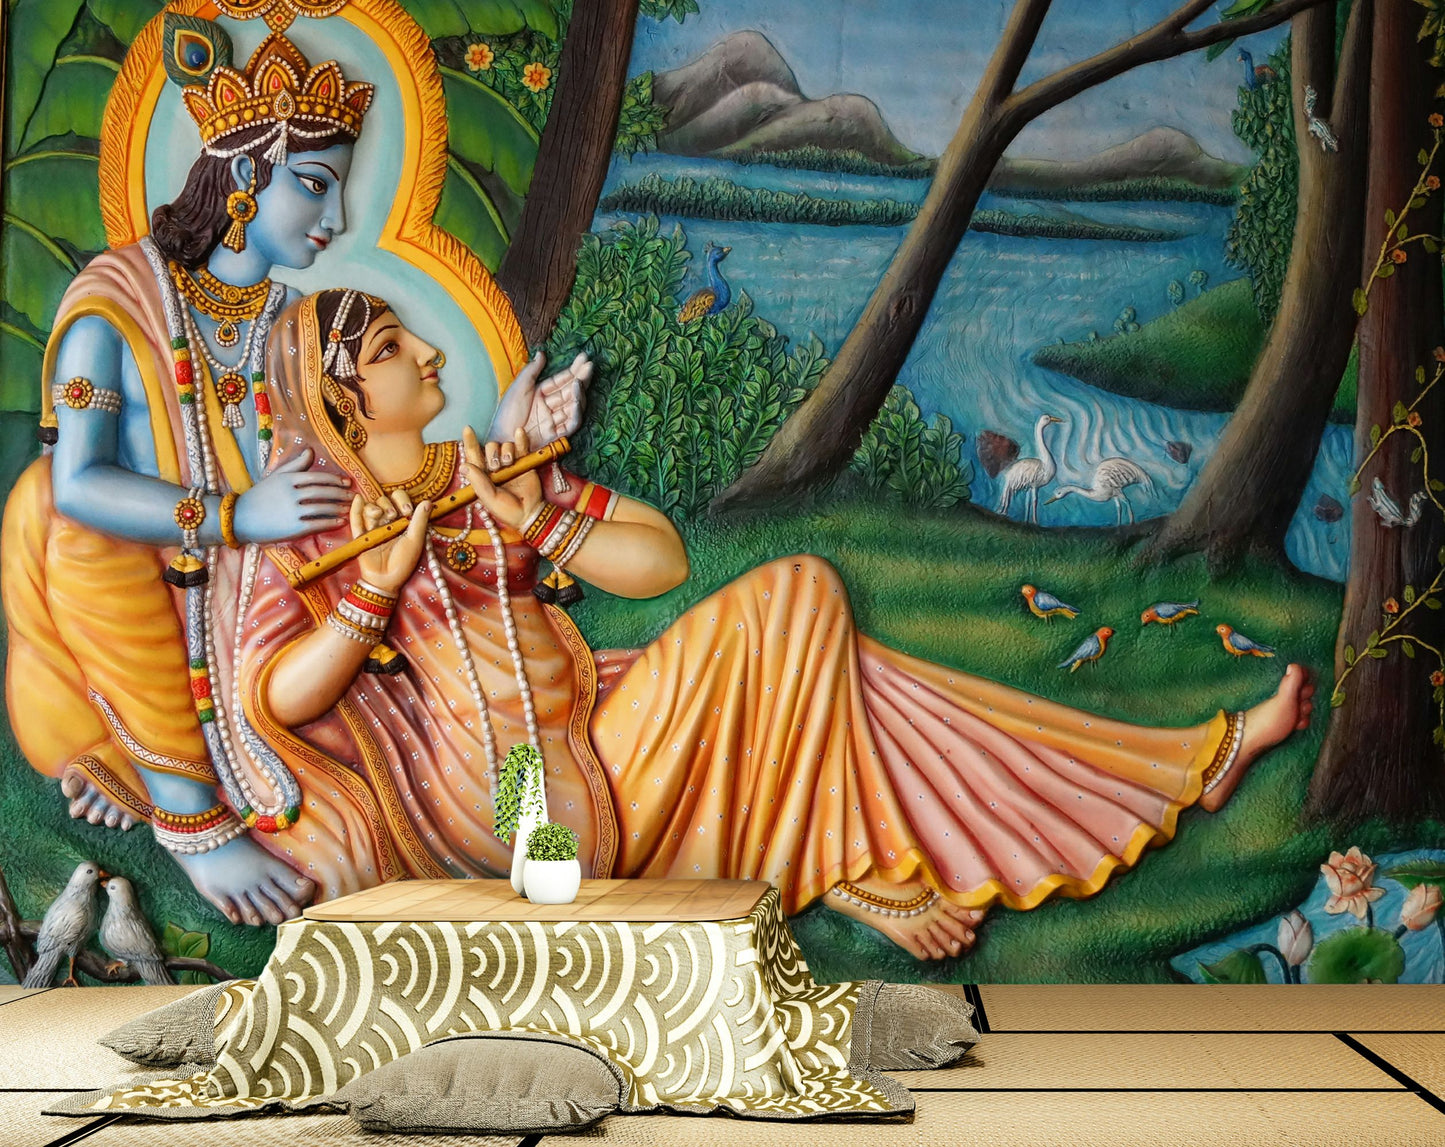
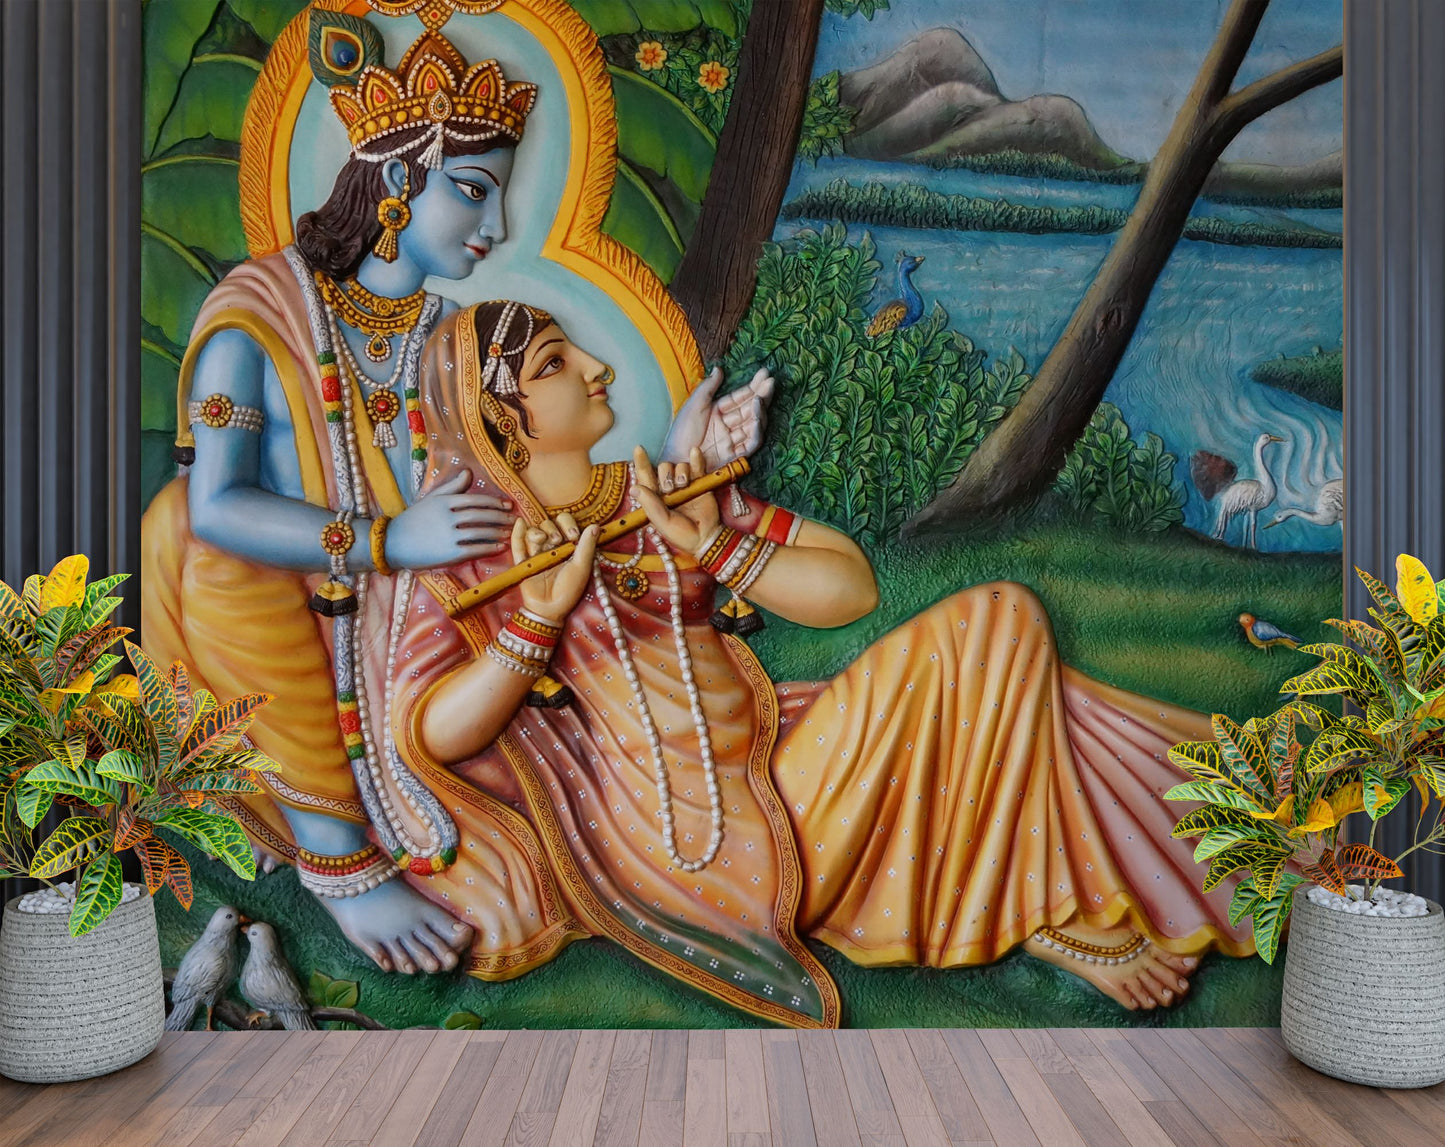
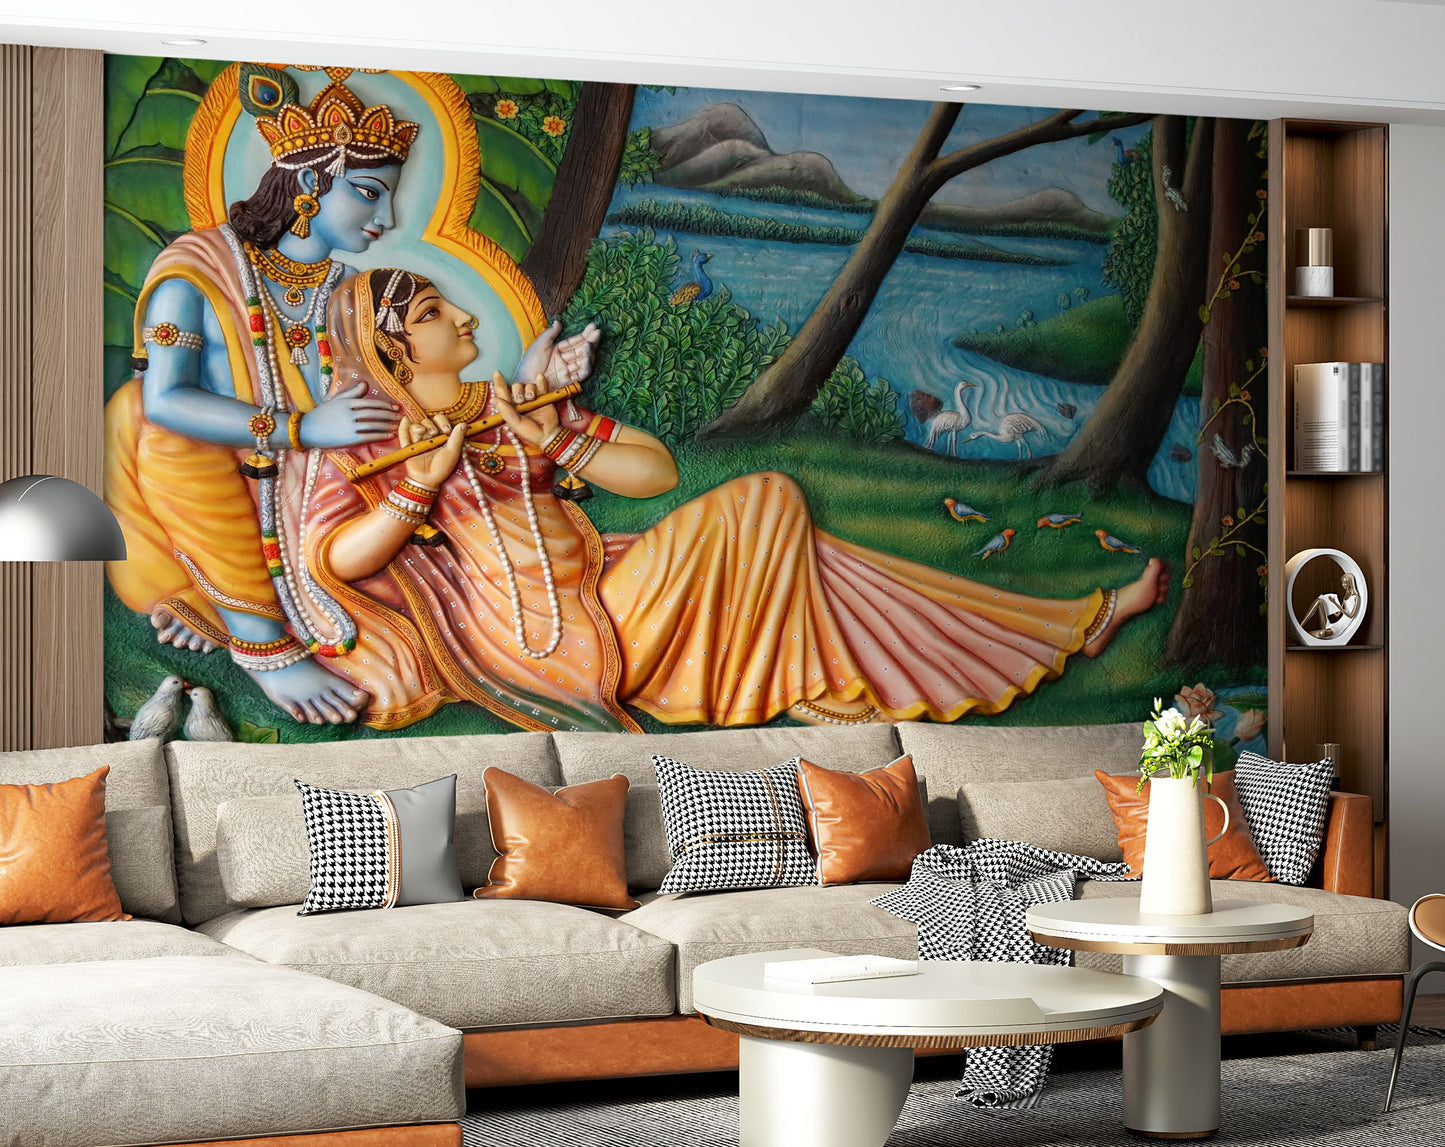
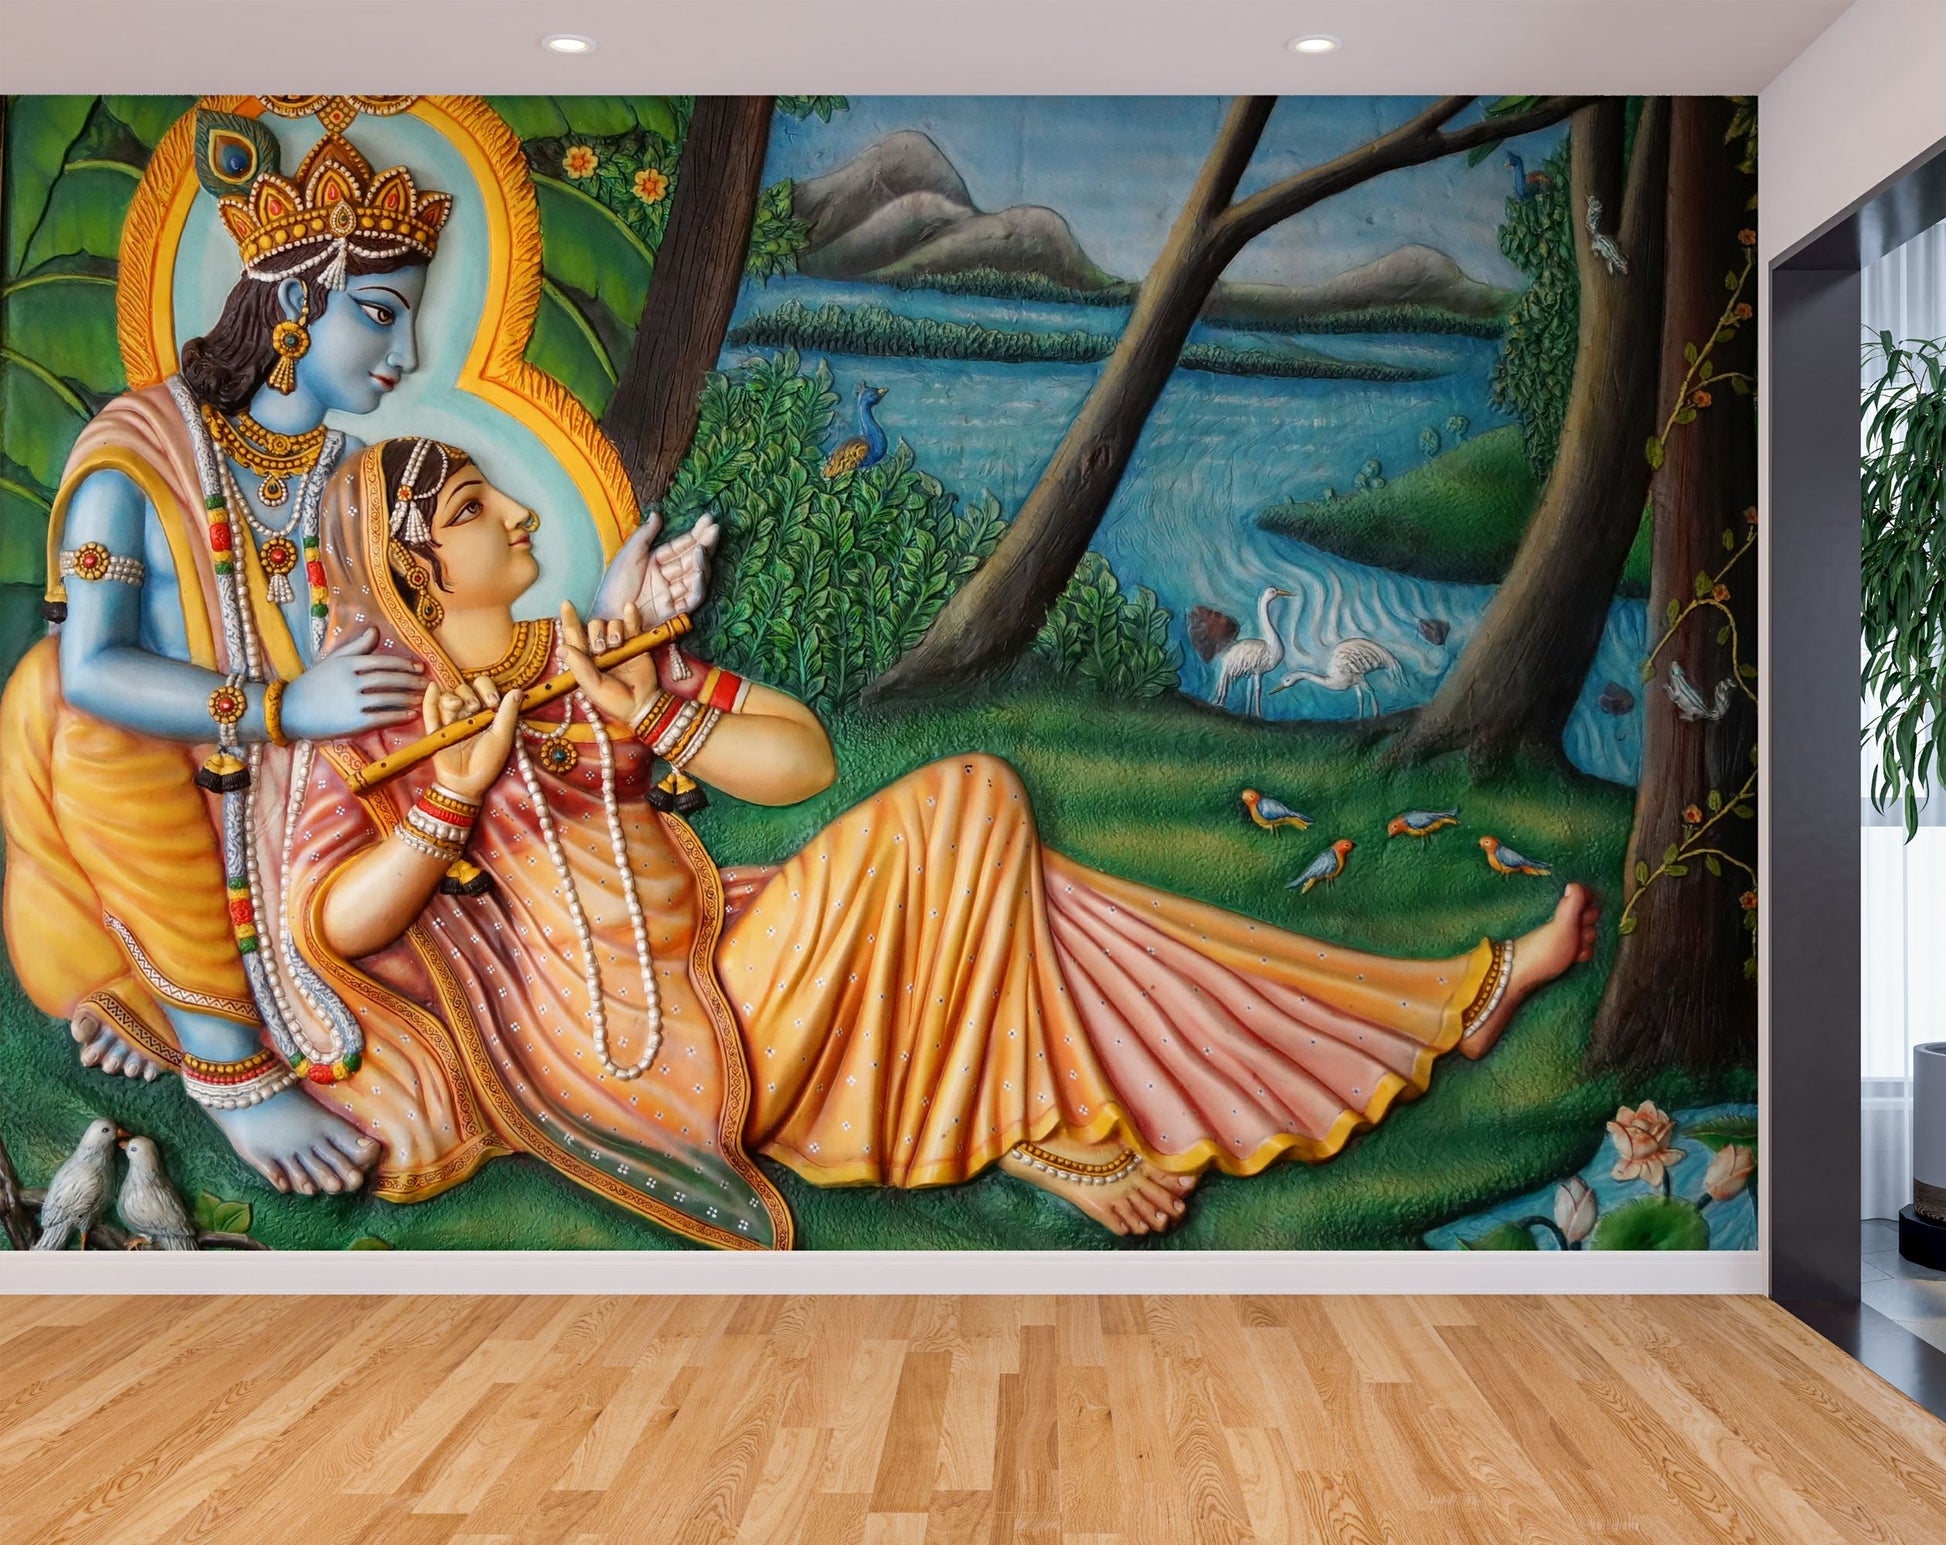
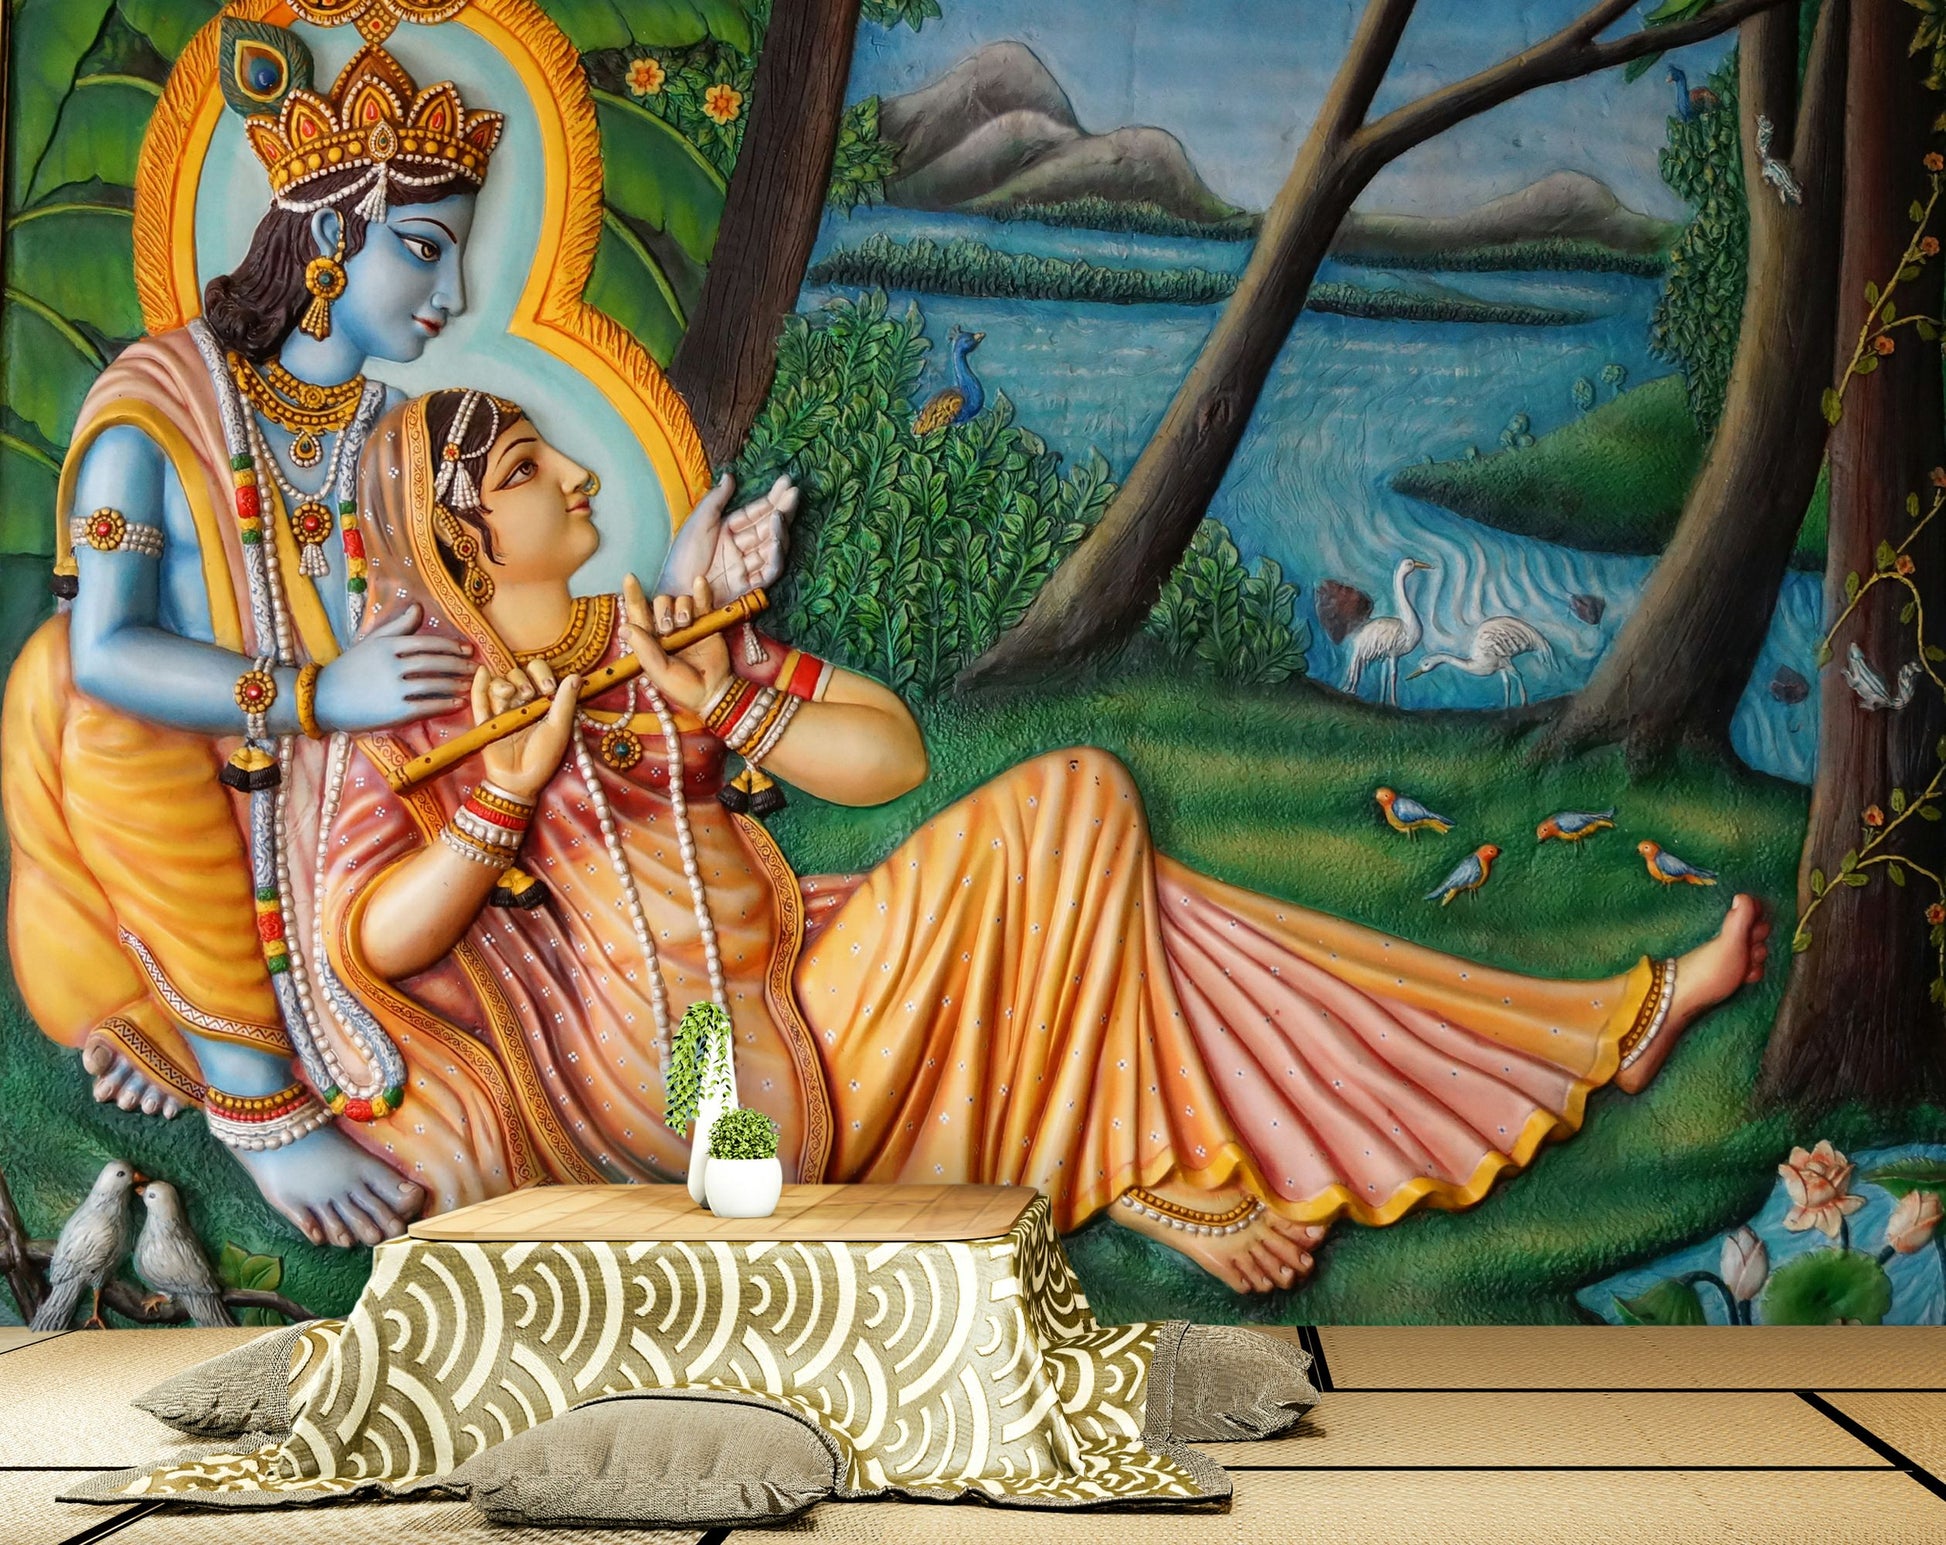
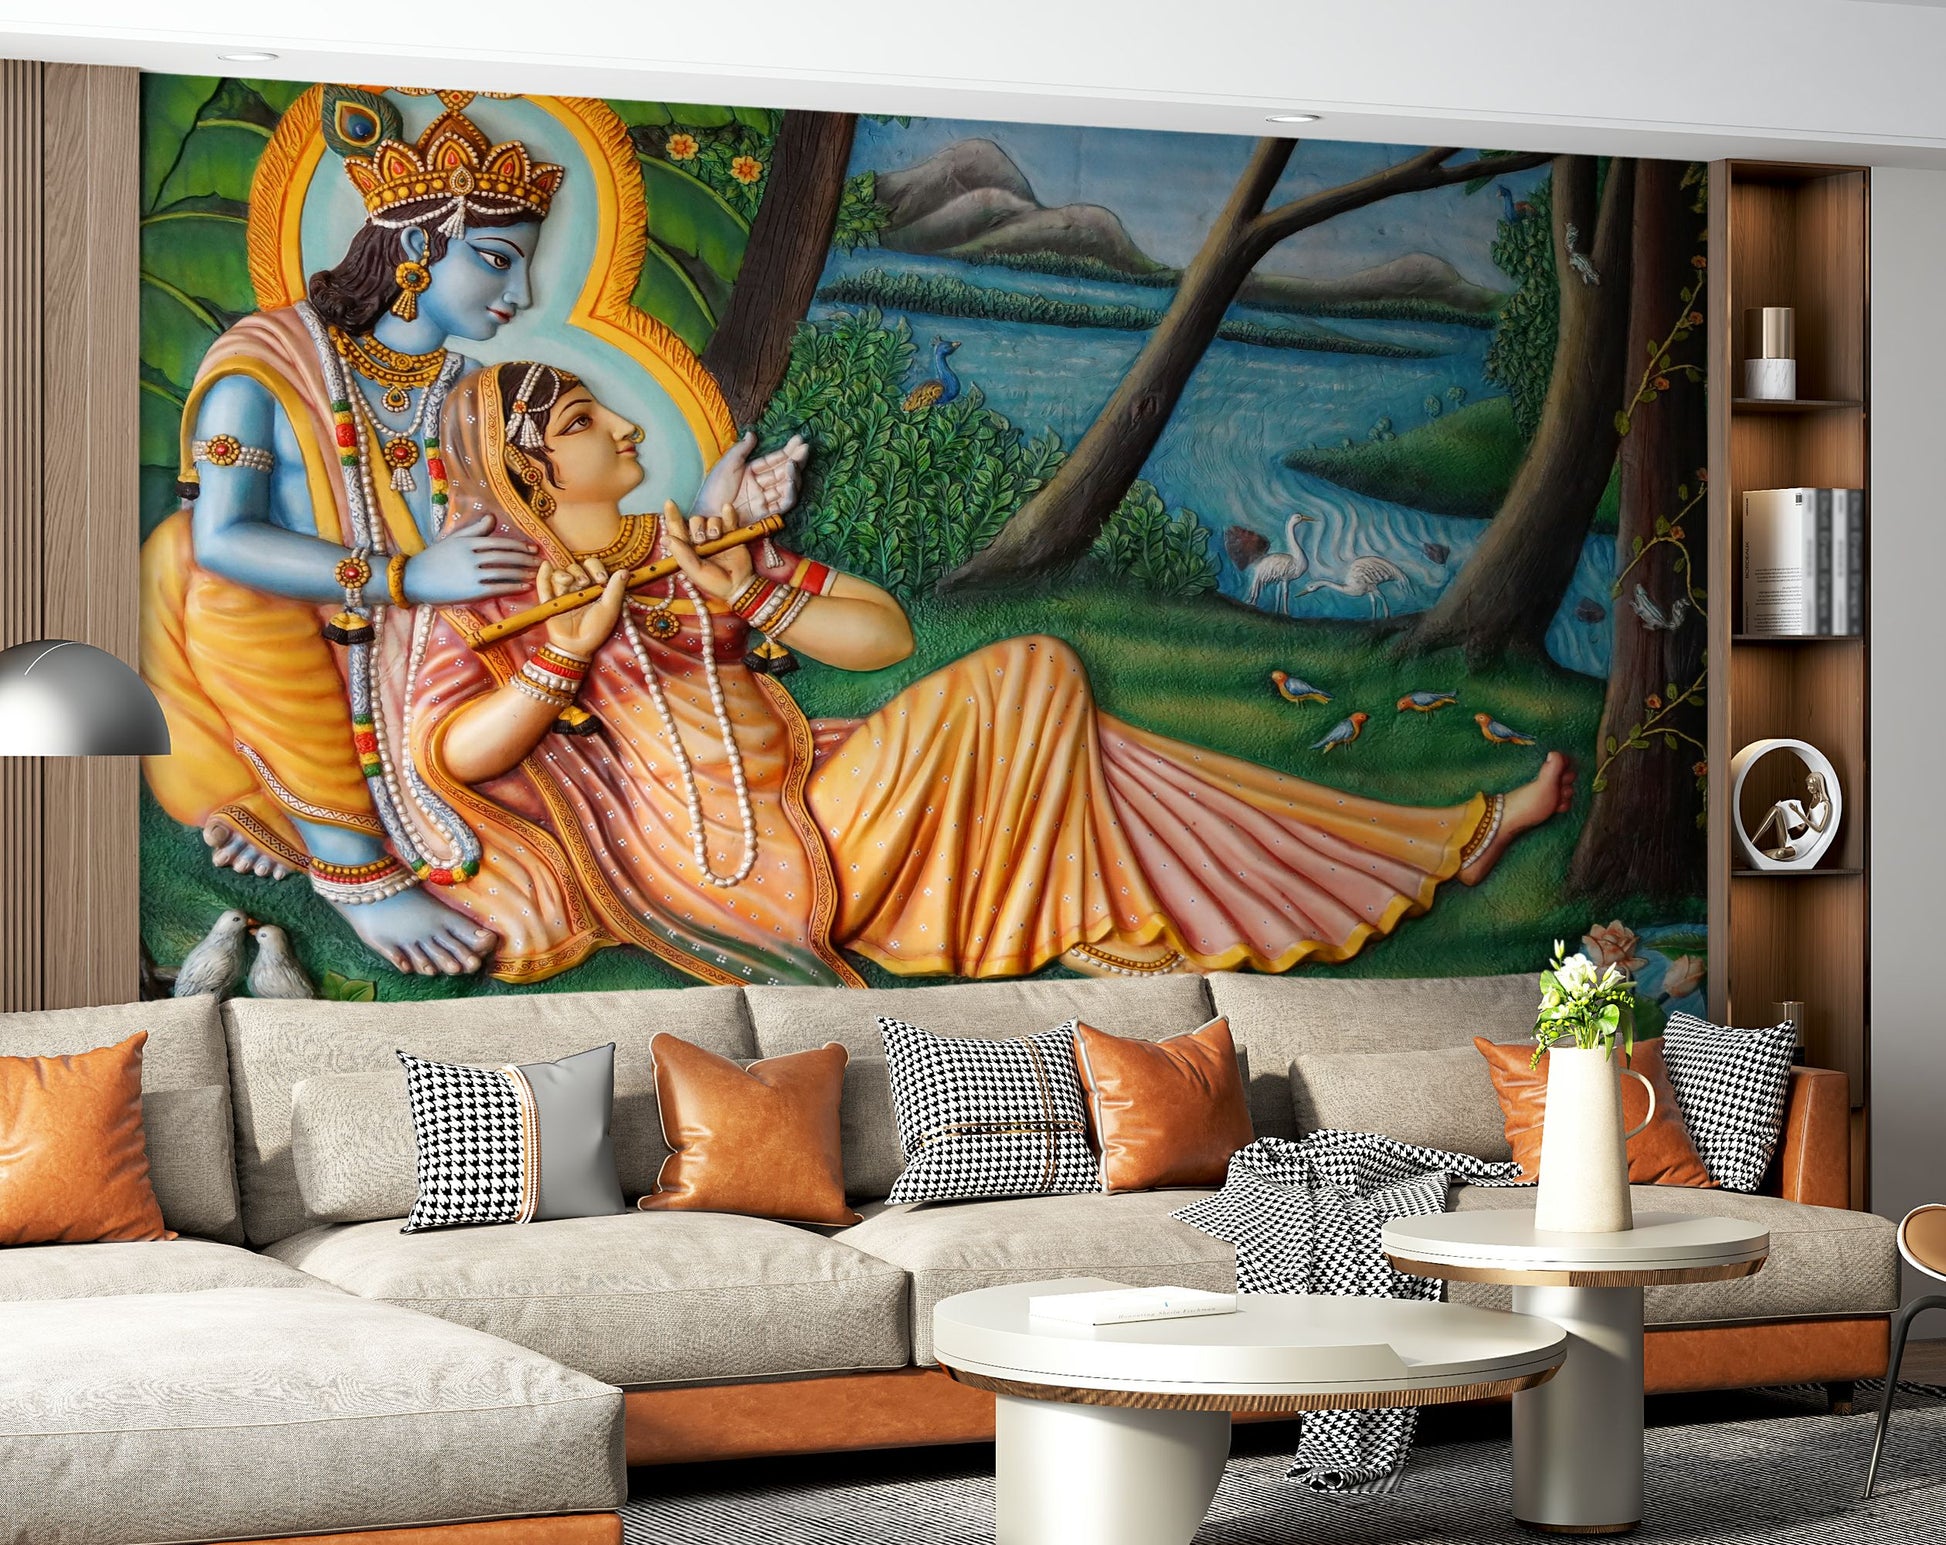
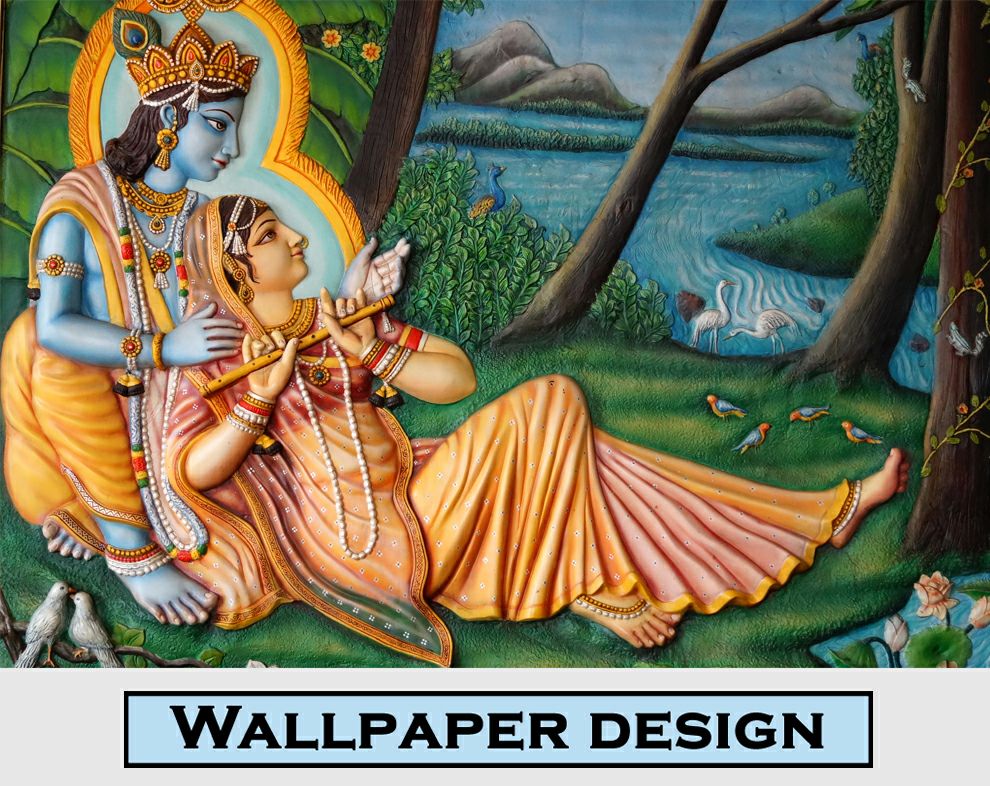
Radhakrishna Hand Draw Painting Mural Wallpaper
Customer Care - 9131769703
[CUSTOM SIZE ORDERS]
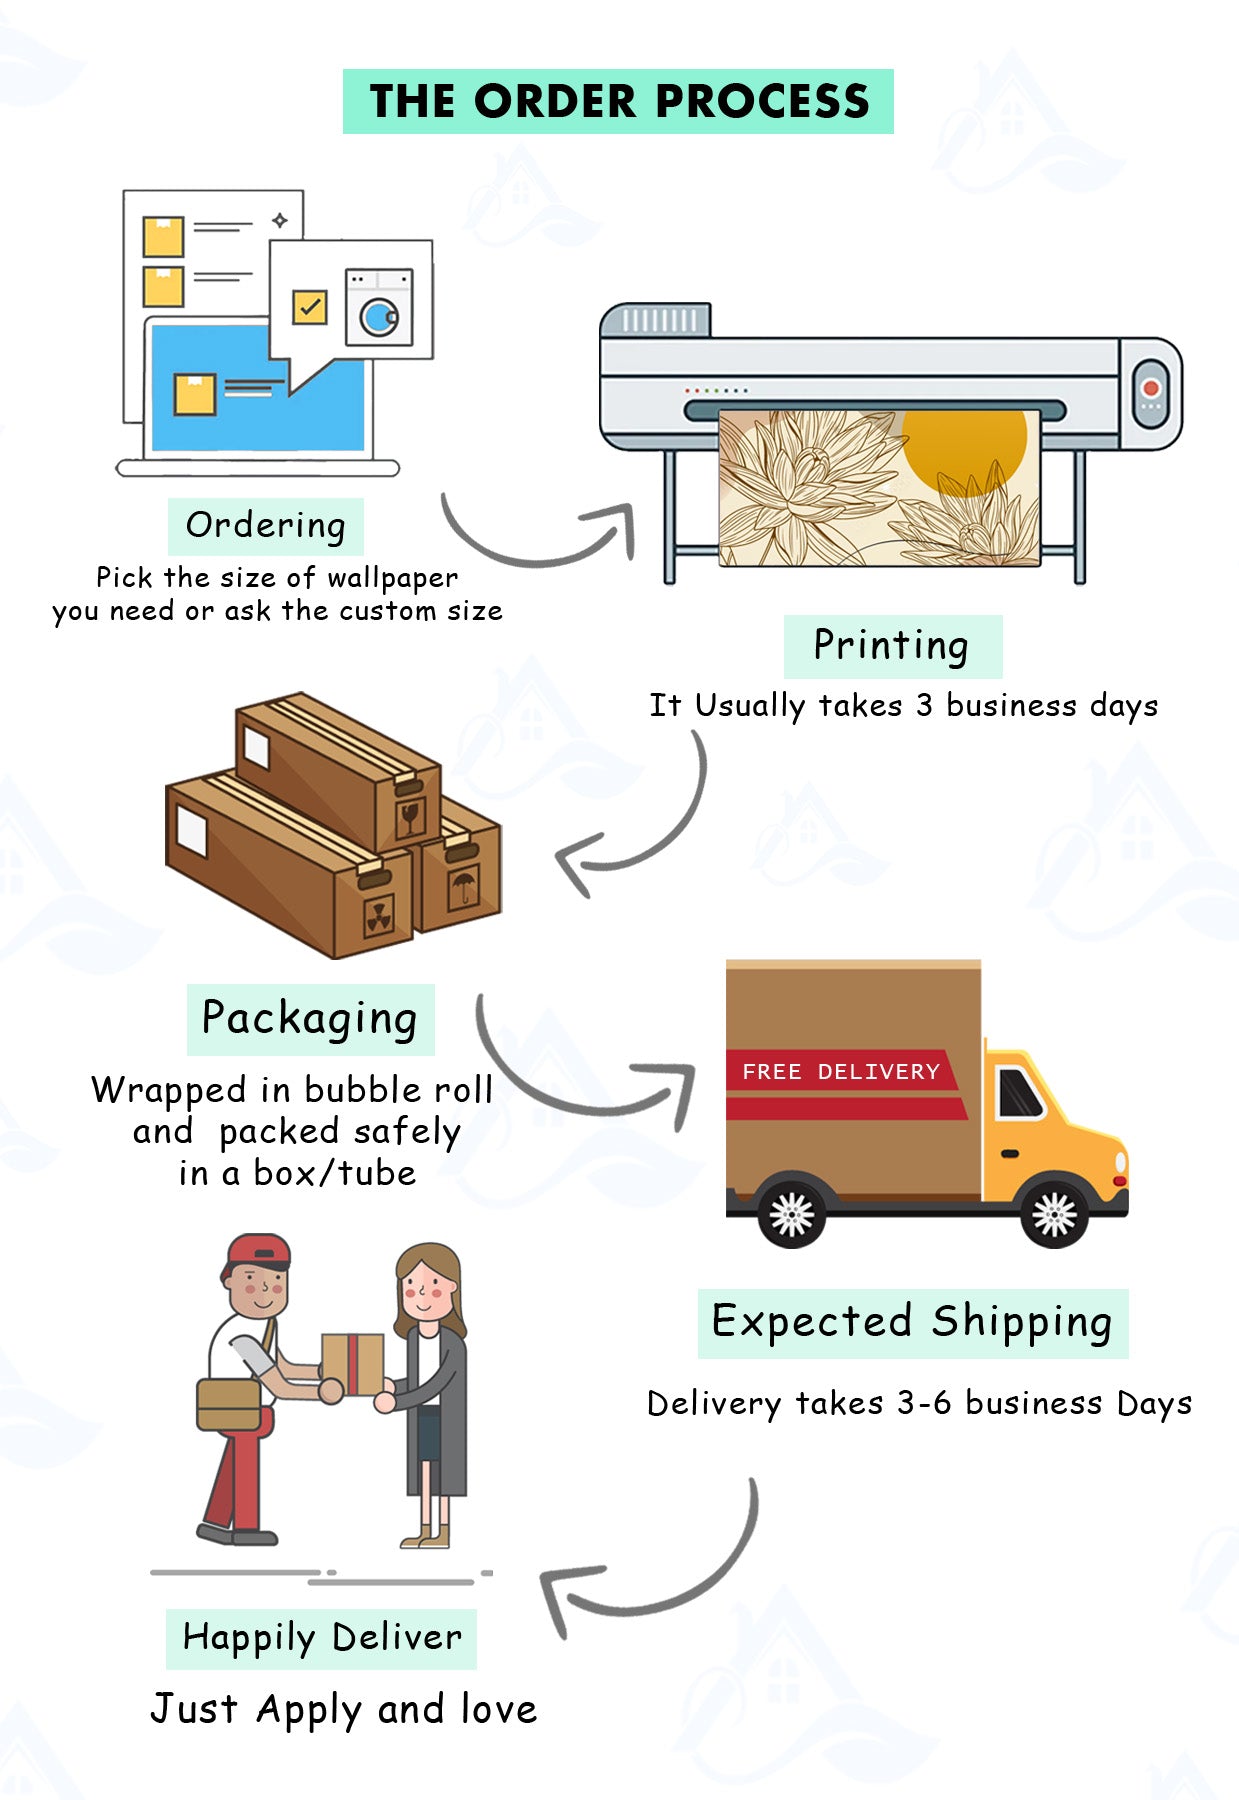
You don't should be stress regardless of whether you can't track down any size choice to meet your requirements, if it's not too much trouble, contact us on +91 91317-69703 or send a message us on our Whatsapp number which is same.
.
[Materials]
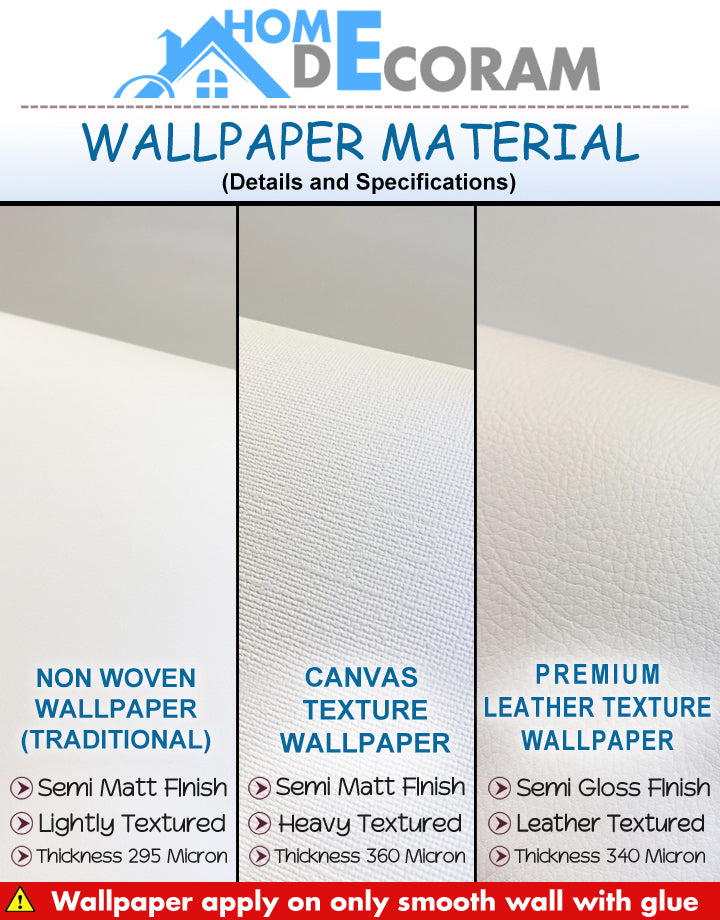
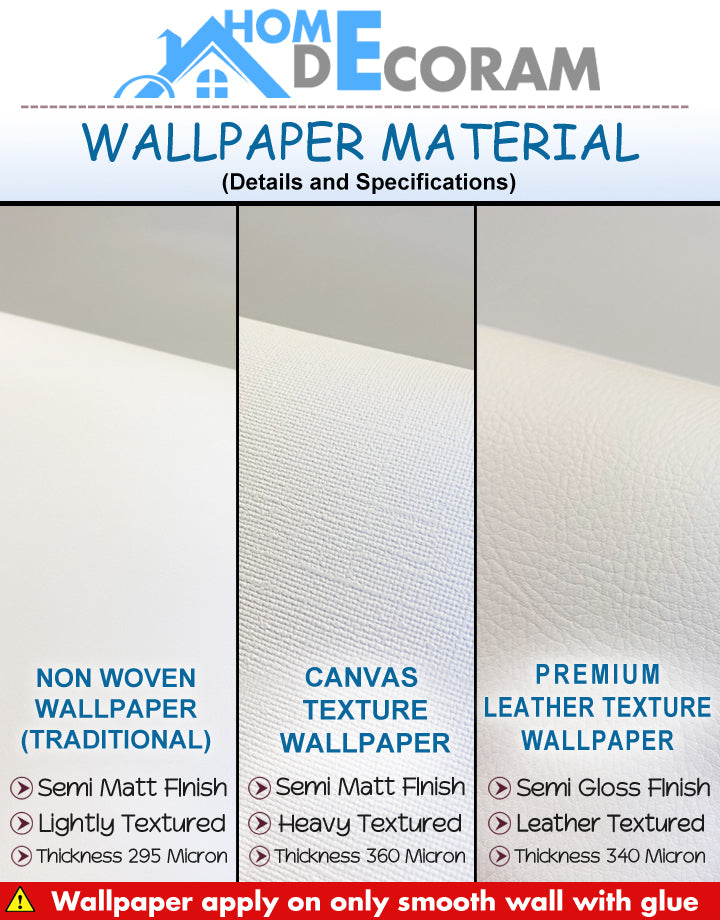
#1 Non Woven Wallpaper (Glue required)
Highlights:
• Top notch Non-Woven silk/smooth completion Wallpaper
• Semi-Matt traditional wallpaper is a paper-based material
• Thickness 295 micron
• Easy for use and application
• Environment friendly Ink we used you can fix on this kids rooms also
• Apply can Smooth and textured Walls applicable with glue
• 8-10 Years Lifespan
#2 Canvas Texture Wallpaper (Glue required)
Highlights:
• Semi-matt fabric with a canvas structure
• Thickness 360 micron. Non-Woven Backing
• Easy for use and application
• Applicable with glue
• 8-10 Years Lifespan
• It looks beautiful in both light and dark patterns.
#3 Premium Leather Texture Wallpaper (Glue needed)
Highlights:
• Premium Quality with Shiny Leather Textured Wallpaper
• Thickness 340 micro. Non-Woven Backing
• Easy for use and application
• Applicable with glue
• 8-10 Years Lifespan
• Attractive on walls
[Significant NOTE]
• You will get the backdrop in numbered rolls that match, Starts from Left sight by numbers.
• Backdrop is applied by covering 2-2.5 cm (0.8-1 inch) covering the examples next to each other (Left to Right)
• Colours on the prints might be somewhat unique in relation to what you see on your screen - that is on the grounds that each show has it's own singular settings.
• We utilize just unique HP inks with Green guard declaration so you can be 100% certain that we care about your wellbeing and furthermore feel liable for our current circumstance.
[RETURNS, EXCHANGES and CANCELLATIONS]
• Except if your thing is flawed returns are not acknowledged, each and every request is made on request, so it's unrealistic to exchange it.
As the wallpapers are made to order, we do not offer refunds/returns (of course, if the item you receive is damaged, we will replace it with a new one).
• Trades are not acknowledged.
Easy Installation Of Your Custom Printed Wallpaper
Wallpaper Installation Guide
Preparation - Make sure that the bare wall is sound, clean and dry. Remove all loose paint, plaster or old paper and fill all holes and cracks with filler, smoothing down the surface when it is set.
"Size" The Wall - Prior to wallpapering it's a good idea to "size" the wall as this seals porous surfaces to prevent the paste from drying too fast and it also aids slip and slide when papering.
Beeline Primer Sealer is a highly recommended wallpaper "size" product as it does all of the above and also helps reduce seam splits, raised edges and bubbling of wallpaper.
Start Line - Few walls are truly square or perfectly vertical. To overcome this, use a plumb line or spirit level and draw a vertical pencil line from ceiling to floor at a set distance from the left hand edge of your wall.
This start line measurement will be shown in the printed installation instructions that come with your custom printed wallpaper order.
Wallpaper Panels - Your wallpaper mural is split into the minimum number of panels possible to minimise the number of joins. This means panel widths can be between 800mm to 1200mm wide, dependant on the size of the wall.
An extra bleed of 100mm is added to the far left and far right panels and to the top and bottom of each panel.
Note that each panel is labelled at the top -
Panel A, Panel B, Panel C, Panel D etc.
Helper - it may be helpful to have two people install your custom printed wallpaper.
- Use a plumb line or spirit level and draw a vertical pencil line from ceiling to floor
- Start With Panel B
- Line the left hand edge of Panel B to the plumb line you have drawn. Your custom wallpaper panels are designed to be overlapped by 30mm at each seam.
- Continue with Panel C making sure the pattern repeat or image is matching across the two overlap areas so the design continues seamlessly.
- Finish finally with Panel A
Double Cut Wallpaper for Perfect Overlap Seams
Your mural is produced with the minimum number of panels to cover your wall, the panels are designed to overlap by 30mm and your finished mural will look great just as it is with the overlap. But for a close to seamless look you may decide to double cut your panels to trim the overlap.
Double Cutting - a technique used to obtain perfectly fitted seams. This is done by overlapping one panel of wallpaper over the other until the image or patterns are perfectly matched. Then a sharp blade is used to cut through both layers. The excess edges are then removed.
To trim the overlap you will need a straight edge and a wallpaper trimming knife (Harris Wallpaper Trimming Knife). Make a clean, straight, vertical cut through both of the layers at the centre of the overlaps. You may need to frequently change blades (just snap off old blade).
Then peel away the waste on the top layer and lift the overlap and peel away the waste on the bottom layer. Smooth both layers back down, wipe away any surplus adhesive. The result will be a nearly invisible seam between the panels. The nice thing too is that the razor line itself doesn't need to be perfect. Just keep your eye on the middle of the overlap and keep going, slowly.
Continue to install panels and double cut the seams in the same manner until your entire mural is hung, finishing finally with Panel A. Take time to make sure everything is smoothed properly into place and that all edges are stuck down.